Flash NotificationsHow Sessions and the Flash Are Used to Display Notification Messages
In this deets, I will explain how flash notifications work and how to use them. By flash notifications, I mean those colorful notification messages that webpages display (usually at the top of the page), for example, after a user submits a form. The messages typically indicate that the form data was processed successfully or alert the user if the operation failed.
Programming Problems with Displaying Notifications
To understand how flash notifications work, you must first understand the typical HTTP request/response cycles associated with a web form. Figure 1 depicts the HTTP requests and responses that typically result from a user opening a web form page and submitting data via the form.

Figure 1. Example of the HTTP requests and responses that typically happen when a form page is loaded, filled out, and submitted by a user. The first request (GET) retrieves the form. The second request (POST) sends the form data that the user submitted to the server. The reply to the POST request is an HTTP redirect response. Following the redirect response, the browser makes a third request (GET) to retrieve the page specified by the redirect.
Notice that this interaction involves three request/response cycles. The first request is to load the page containing the form. The second request happens when the user has entered data into the form and pressed submit. The response to the second request requires a little explanation.
It is a best practice in the design of web apps to respond to state-affecting operations (like POST, PATCH, and DELETE requests) with an HTTP redirect response, which is a special kind of HTTP response that, instead of providing HTML for a page, tells the browser to send a new HTTP request for a different page.
The rationale for this design decision stems from the reload button common to all web browsers. The way the reload button works is that, when pressed, the browser re-sends the last HTTP request it sent to the server. Thus, if the response to a POST request was an HTML page, and the user then reloaded that page, the browser would resubmit the form data, which is probably not what the user intended and could potentially result in erroneous duplicate data being stored in the database.
Responding to POST requests with an HTTP redirect solves this problem, because the redirect causes the browser to send another HTTP GET request to retrieve a page specified by the redirect (the third request in Figure 3). Thus, if the user hit the reload button in this case, the browser would simply re-send the GET request for the redirected page, and it would not cause a resubmission of the form data.
However, this creates a couple programming problems when it comes to displaying a notification message after a form is submitted (e.g., to indicate that the submission succeeded or failed).
First, it is typical for multiple users to be interacting in parallel with a web server, each having their own HTTP request/response cycles.
How does the web server know that the third request was from the same user who submitted the second (POST) request?
Second, a controller action processes the form data during the second request/response cycle, but the notification needs to be rendered by a different controller action responding to the third request.
How does the third controller action know to render a notification that was the result of the second controller action?
To address the first question, we must first address the issue of multiple users each having separate “conversations” with the web server in parallel.
Conversations between Browsers and a Web Server
A single web server may, at any given time, be engaged in separate “conversations” with many different users. By conversation, we mean that a given user on a given browser is interacting with a website being served up by the server. The interaction produces a series of related HTTP request/response cycles between the browser and server. For example, Figure 2 illustrates a conversation between a user, Alice, who is navigating a website, and a web server that is serving up the web pages, images, etc.
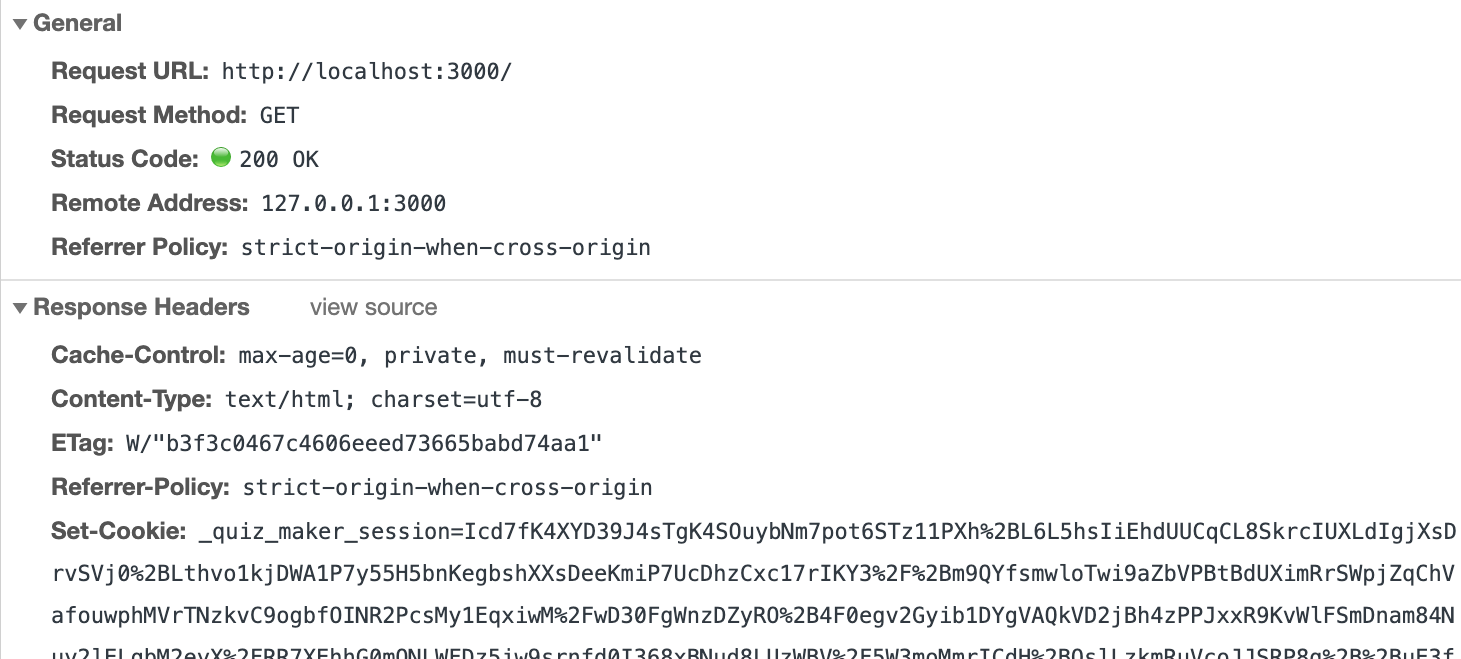
Figure 3. Example of an HTTP GET request with a cookie that holds a session ID.
Although conversations like this seem pretty intuitive to a human, they create a problem for servers. At its core, the HTTP protocol is stateless, providing no specific support for keeping track of which requests go with which conversations. Thus, each time an HTTP request the comes in, the server is not necessarily aware that this request is part of an ongoing conversation. This situation causes problems—for example, should a user have to re-authenticate every time their browser sends an HTTP request? That would get very annoying very quickly.
Sessions and Conversational State
Servers commonly use sessions to store conversational state (i.e., data specific to a particular conversation). That is, the server reserves some memory for each conversation that is currently active. The server keeps track of which session goes with which browser using cookies. In short, cookies are some data that ride along in HTTP requests and responses passed between browsers and servers. To enable sessions, a conversing server and browser include in all their HTTP messages a cookie that contains a unique session ID. Figure 3 illustrates an HTTP request that includes a session cookie (see the “Set-Cookie: ...” bit). When the server receives an HTTP request with a session cookie, it can use the session ID to look up the session data it saved for that particular conversation.
Figure 3. Example of an HTTP GET request with a cookie that holds a session ID.
In Rails, controller methods can store and retrieve session data using an instance method session (which behaves like a hash when you use it). For example, here is a line of controller code that would save the ID of the current user in the session under the key :current_use_id.
session[:current_user_id] = user.id |
In subsequent requests, a controller method could use the session to look up the current user, like this:
current_user = User.find(session[:current_user_id]) |
In practice, I don’t write code that directly uses the session very often. However, authentication Gems, like Devise, make use of it under the hood, for example, to store the identity of the currently authenticated user.
Sessions provide the foundation for how the web server knows which user should see a notification message caused by an earlier request/response cycle in their conversation; however, there still remains the problem of a controller action knowing to display a message that is actually caused by the controller action that previously executed in the conversation.
The Flash
The flash (aka the flash hash) is a special kind of session storage designed to solve the problem of saving a notification message in one controller action and having that message be displayed by the next controller action.
How to use the flash—the typical case
In particular, a notification message can be stored in the flash under a particular key. For example, a controller action that creates bank accounts might, after creating a new account, store a success message in the flash and then send an HTTP redirect response, like this:
flash[:success] = "Account successfully created" |
What makes the flash special is that this message will only be available during the processing of the next request of the session. Thus, it’s common to have code similar to this for displaying flash messages near the top of the <body> element of the application.html.erb view layout file:
1 | <% if flash[:success] %> |
2 | <div class="alert alert-success"><%= flash[:success] %></div> |
3 | <% end %> |
Note that the if part of this HTML.ERB code makes it so that the view will render an alert <div> only if a message was set by the previous action of the session. If no alert message was set, then the div will not be rendered.
But what if you need to render the flash notification in the same request that set it?
Although the above scenario is perhaps the most common in practice, it is sometimes the case that a controller action needs a notification to appear on a page that the controller action itself is rendering (and thus, the controller action does not want the notification to be rendered by the next controller action to run in the session). For example, Figure 4 depicts the HTTP requests that would result from this case. Note how they differ from the ones in Figure 3.

Figure 2. Example of a conversation between a web browser user (Alice) who navigating a website and a web server. The figure uses UML sequence diagram notation. It depicts the scenario of interaction between Alice’s browser and the web server, with the order of events going from top to bottom. As Alice navigates the website, her browser makes the necessary HTTP requests to retrieve HTML, images, etc. We refer this sort of interaction between a particular browser and a web server as a conversation between the browser and the web server.
If the flash hash were used in the typical way for the example in Figure 4, there would be a problem: the flash notification would not appear in the second response (where we want it to). Instead, it would be available only to whatever request comes after the second one, but that’s not when we want it.
To solve this problem, there is a flash.now method that can be used to change the flash’s behavior. In particular, it causes the flash messages to be instantly available (and to be destroyed after the current request completes). Here is an example of how controller action code using flash.now might look:
flash.now[:alert] = "Error: Unable to save data" |
Thus, if this controller action were to subsequently render an HTML page, the alert message would appear in that page.
Stylish Flash Notifications with Bootstrap
Setting up the infrastructure for displaying Bootstrap-styled flash notifications, like the one displayed in Figure 5, is actually pretty straightforward.
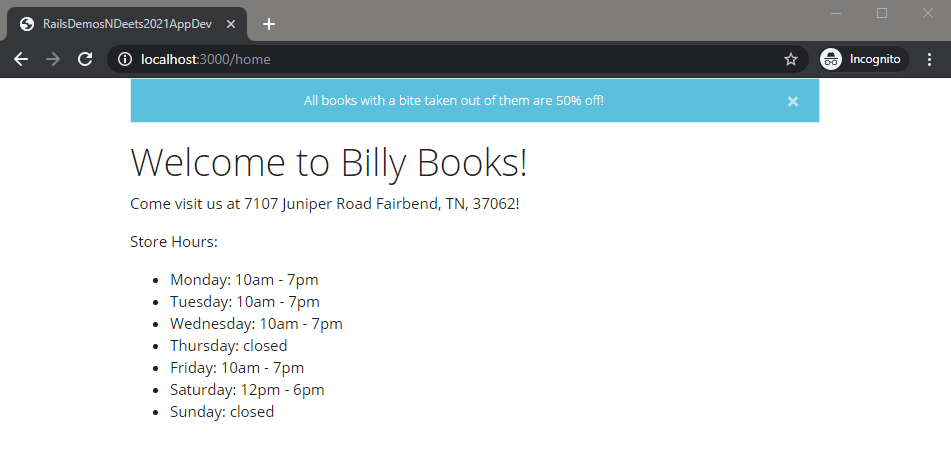
Figure 5. A notification of a sale happening at Billy Books.
First, we define a set of flash keys that will correspond to different types of notification messages, each with its own style (e.g., color):
| Key | Typical Color |
|---|---|
success |
Green |
error |
Red |
notice |
Teal |
alert |
Red |
warn |
Yellow |
To map each of these keys to the appropriate Bootstrap alert style, we define a view helper function in app/helpers/application_helper.rb, like this:
1 | module ApplicationHelper |
2 | def flash_class(level) |
3 | bootstrap_alert_class = { |
4 | 'success' => 'alert-success', |
5 | 'error' => 'alert-danger', |
6 | 'notice' => 'alert-info', |
7 | 'alert' => 'alert-danger', |
8 | 'warn' => 'alert-warning' |
9 | } |
10 | |
11 | bootstrap_alert_class[level] |
12 | end |
13 | end |
To display in the appropriate style any and all flash messages that have been set, we add view logic to the <body element of the layout, views/layouts/application.html.erb, like this:
1 | <% flash.each do |key, message| %> |
2 | <div class="alert <%= flash_class(key) %> alert-dismissible fade show" role="alert"> |
3 | <div class="text-center alert-message"><%= message %></div> |
4 | <button type="button" class="btn-close" data-bs-dismiss="alert" aria-label="Close"></button> |
5 | </div> |
6 | <% end %> |
The above code does two things: (1) it wraps the message in a couple CSS classes to make it look nicer, and (2) it adds a button to the right of the banner that makes it dismissable.
Finally, to offset the spacing from the button, we add to the app/assets/stylesheets/application.scss file CSS code that adds padding to the left side of the notification message, like this:
1 | .alert-dismissible { |
2 | padding-left: $alert-dismissible-padding-r; |
3 | } |
Having made these changes, we can now set flash message in our controller actions, with statements like flash[:success] = '…' and flash.now[:error] '…', and the messages will display as shown in Figure 5 at the appropriate time.
Further Reading
For more info on sessions and the flash, see the Rails Guides.